Published
3 min read
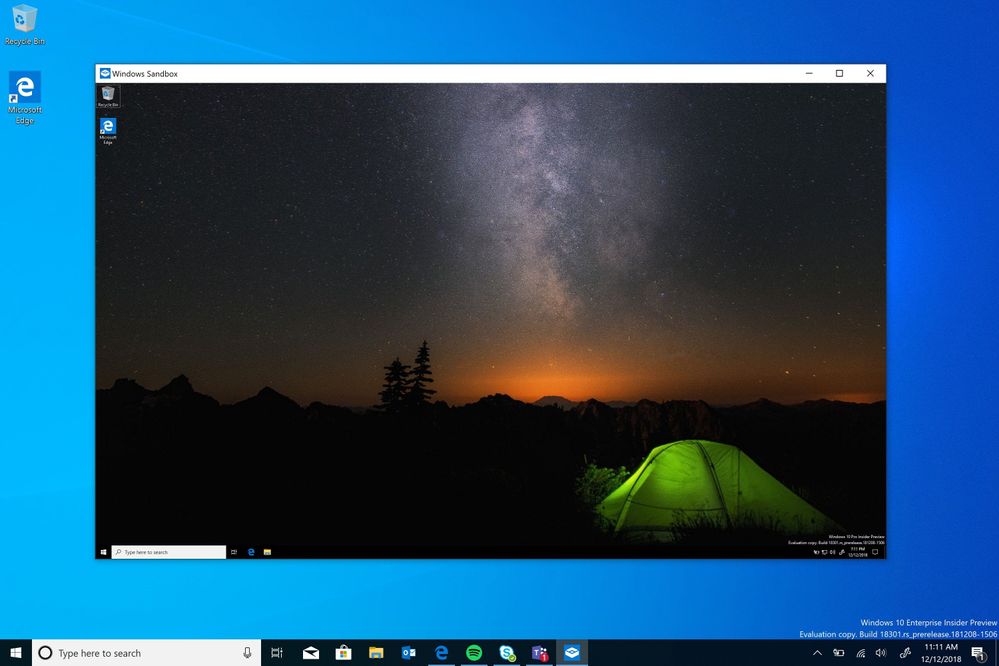
Windows Sandbox for Safe Experimentation

What you'll learn
Explore safe software testing with Windows Sandbox. Learn to set up, customize, and use scripts for secure PC experimentation.
Introduction: Why Use Windows Sandbox?
Hey there! Have you ever wanted to test a new app or visit a website but worried it might harm your computer? Well, if you’re using Windows 10 Pro or above, I’ve got great news for you: Windows Sandbox is here to save the day! Windows Sandbox is like a superhero for your PC, creating a safe space where you can test anything without fear.
The Magic of Sandbox Environments
Why are sandbox environments so awesome? Imagine you’re a scientist in a lab, experimenting without the risk of blowing up the whole building. That’s what Windows Sandbox does for your PC. It’s perfect for:
- Testing suspicious software: Not sure if that new app is safe? Try it in the sandbox!
- Exploring unknown websites: Wander the wilds of the internet without a trace.
- Developers and tech enthusiasts: Test code, apps, or settings without risking your main system.
Setting Up Windows Sandbox
Ready to dive in? First, you need to enable Windows Sandbox in your Windows settings. It’s a breeze – just a few clicks and you’re good to go!
Customizing Your Sandbox
Configuring with Ease
What’s cool about Windows Sandbox is that you can make it your own. Want specific files or scripts ready to go? No problem!
Create Your Custom Sandbox:
-
Make a new file with a
.wsbextension. -
Edit the content to include folders you want to share between your main system and the sandbox, like this:
<Configuration>
  <MappedFolders>
    <MappedFolder>
      <HostFolder>C:\Users\User\Desktop\YourFolderYouWantToShare</HostFolder>
      <SandboxFolder>C:\Users\WDAGUtilityAccount\Desktop\MySharedFolder</SandboxFolder>
      <ReadOnly>true</ReadOnly>
    </MappedFolder>
  </MappedFolders>
</Configuration>
Scripts: Your Sandbox Toolkit
Remember, each time you exit the sandbox, it’s like a magic reset button – everything goes back to the way it was. But what if you need certain tools every time?
Setting Up Tools with a Script:
Let’s say you want Git, NVM, VS Code, and Windows Terminal in your sandbox. Easy!
-
Create a
.ps1PowerShell script file. -
Paste this script to install everything using Scoop:
Set-ExecutionPolicy Bypass -Scope Process -Force iwr -useb get.scoop.sh | iex scoop install git scoop bucket add extras scoop install nvm scoop install windows-terminal scoop install vscode -
Check out Scoop’s website for more tools.
-
Put the script in your shared folder, and run it with PowerShell.
Pro Tip: Manual Execution is Key
You might think about automating this script at startup, but trust me, it’s better to run it manually. This way, you can see what’s happening and catch any errors.
Conclusion: Embrace the Sandbox
Windows Sandbox is an incredibly powerful tool for safely experimenting on your PC. Whether you’re a developer, a tech enthusiast, or just someone who loves to try new things without risk, this feature is a game-changer. So, why wait? Dive into Windows Sandbox and explore a world of possibilities with confidence!
What are you going to test first in your Windows Sandbox? Let your imagination run wild and share your experiences! 🚀🌐💻